
Table of contents
If you’ve just started playing Rust or you’re looking for tips to help get a base down you’ve landed in the right place.
Rust is in early access and Facepunch are working to improve the experience for beginners before officially launching but unless you have friends who’re already playing, you’re on your own.
The first thing to know about Rust is that you will die. A lot. And that’s ok. It’s a grind and the more loot you’ve gathered when you die the more frustrating it is. It’s a part of the game though so don’t sweat it. And don’t expect sympathy from other players.
NOTE: This article is written at the time of devblog 192 and may be out of date and inaccurate after future updates.
Choosing a server
The best way to figure out the mechanics of the game is on a quiet server with less than 50 players. You’d think Facepunch’s official servers would be the safest place to start but there tend to be cheaters on them and they attract a less friendly crowd.
A well maintained community server will keep tabs on cheaters and police players who’re abusive or disrespectful. If you’re playing on your own, look for solo/duo/trio servers as they restrict players to small groups which helps avoid large clans and zergs.
When you’re learning the ropes other players are usually more hindrance than help so don’t be scared to jump on an empty server and go full PvE.
The basics
Once you’ve banged on a few trees and nodes with your rock and collected some hemp cloth there are a few items you’ll want to craft:
- Stone Hatchet 200 wood, 100 stone
- Stone Pick Axe 200 wood, 100 stone
- Bow 200 wood, 50 cloth
- Wooden Arrows 25 wood, 10 stone
- Wooden spear 300 wood
- Bandages 4 cloth
These items help you farm resources, kill things and heal yourself. My preferred weapon is the bow but the spear is handy for close quarters combat and for popping barrels. Press “G” to see the world map and figure out where you are.
You’ll notice I’ve left clothes off the list. At this early stage unless you’re in the snow there’s not much point using your cloth to craft clothes. You’re better off saving it for a bow and sleeping bag (50 and 30 cloth respectively).
Eating
If you don’t eat you will starve and die so finding food is important. There are a number of ways to satisfy your hunger:
- Pick corn, pumpkins and mushrooms.
- Harvest desert cactus for cactus flesh.
- Find small food containers near monuments and mines.
- Kill animals with a weapon (bow / spear) and roast their flesh on a campfire. Try to avoid eating raw meat.
- Killing other humans and roasting their flesh. Note that this will heavily dehydrate you.
- Catching fish with a fishing trap.
Naturally growing food
The easiest of these is picking vegetables. Corn and pumpkins grow alongside rivers (usually near the river mouth), and mushrooms grow in the dirt in forested areas.
In the desert you’ll get a small amount of cloth and cactus flesh when you bang on cacti with a rock / hatchet.

Food containers
Food containers are a great kick start but the monuments and mines that they grow around tend to be more populated.
Animals
Killing animals is tricky because the majority of them will either run away faster than you can chase them or fight back with often fatal consequences. Even boars can kill you if all you have is your rock. If you manage to kill an animal, for maximum yield, butcher it with a bone knife which you can craft for 30 bone fragments.
Depending on their size you’ll get a varying amount of animal fat which you can combine with cloth to craft low grade fuel which is a vital early game resource.
Killing animals
The easiest way to kill an animal is with a hunting bow and the easiest animal to kill is a boar. They give you lots of meat and animal fat and they run at roughly the same speed as you so if you hit one with an arrow, you can chase it and with practice land a few more arrows in it.
Wolves and Bears
Until you get a bow you don’t want to mess with these guys. A short range melee weapon like a sword or cleaver can dispose of a wolf but it’s far from a sure thing. What you need to do is launch an arrow at them while standing on a relatively high rock. Then even if they come right up to you they (hopefully) won’t be able to reach you. Then you can easily bow them down. It does take some practice to find the right sized rock.
Alternatively, if you have a building plan you can build a foundation above the ground and bow one down from up there. Again it’s tricky to get your foundation high enough that you can jump on it but not high enough for a bear or wolf to reach you.
Bears are what you want and eventually your eyes will light up if you see one in the early game because they will fast-track you to the crafting a furnace stage.
Fishing
TL;DR: Don’t bother fishing.
Fish traps are rarely used in Rust. I’ve tried them myself once to get a handle on the mechanics but a lot can go wrong and the cost/benefit makes them barely worthwhile. They cost 200 wood and 5 cloth to craft and you will need bait (mushrooms, corn, etc). Place your trap on a beach, load it with bait and wait ~10 minutes.
If you’re lucky you’ll catch a trout. If you’re not, you’ll catch minnows. Cooked trout is very nutritious and you’ll get some bonus animal fat but minnows are not good.

The problem with fishing is that while you’re waiting to catch a fish, any other player can either take your bait, destroy your trap or steal your fish once it’s trapped. They’re also obvious as fuck sitting in the beach so there’s no hiding them.
Early game objectives
A few key objectives in the early game:
There’s a lot more to it than this and I’ll go into detail below.
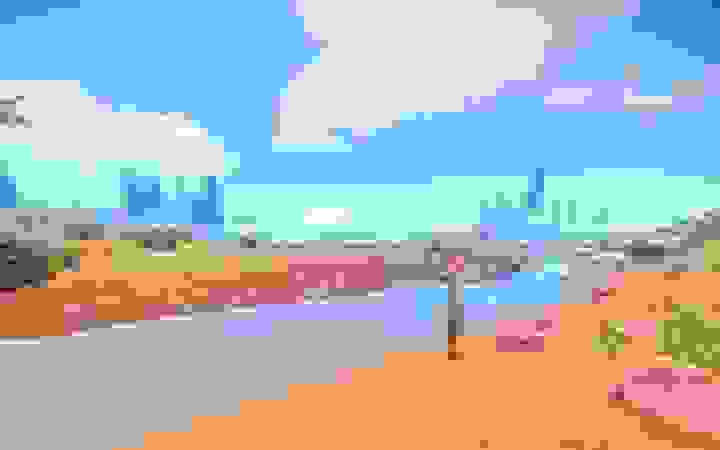
Finding an area to build
You can build just about anywhere on the map (besides around monuments and caves) but some areas are generally quieter than others. Most large monuments draw a crowd and you’ll get picked off while trying to make your start.
A good strategy is to check the map immediately after spawning (press G) and run away from the beach so you don’t get harassed by other nakeds. Head inland away from monuments.
Part of the fun of Rust is learning the different characteristics of each area so don’t be too fussed where you end up. However, initially the snow is challenging because you will die of cold overnight unless you have clothes and a fire.
Some things to note:
- Resource nodes spawn around mountains and rocks. Look for white snow peaks on the map.
- If you’re not near a forest wood can be difficult to farm.
- Barrels spawn around roads and they’re important once you’re up and running for harvesting scarp.
- Hemp spawns in grassy areas.
- Thirst can become a pain in the arse if you’re not near a river.
There’s a lot more to finding a good place to build but that’s a start.
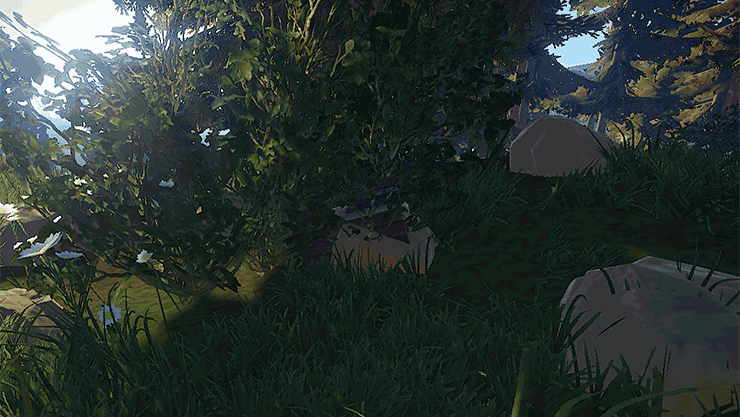
Getting a sleeping bag and stash down
Once you’ve found an area you’ll want to get a sleeping bag down. Find some tall grass or bushes and plonk it down. This allows you to respawn at your bag rather than on a random beach after you inevitably die.
Next up craft a small stash and pop it down somewhere distinct that you will be able to remember. It’s worth taking a screenshot of where you’ve dumped it for future reference. You’ll need to be able to find it to add and remove loot.
The reason this is important is that you’re going to bury your stash underground where no one can see it (including yourself). To access your stash again you need to look down at the ground where it’s buried for a couple of seconds.
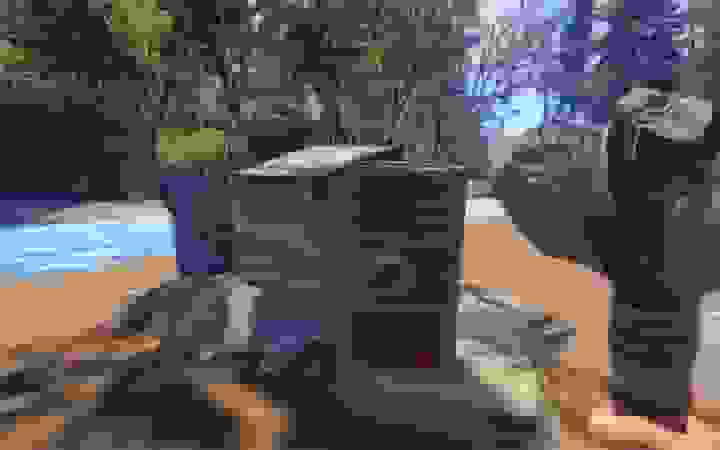
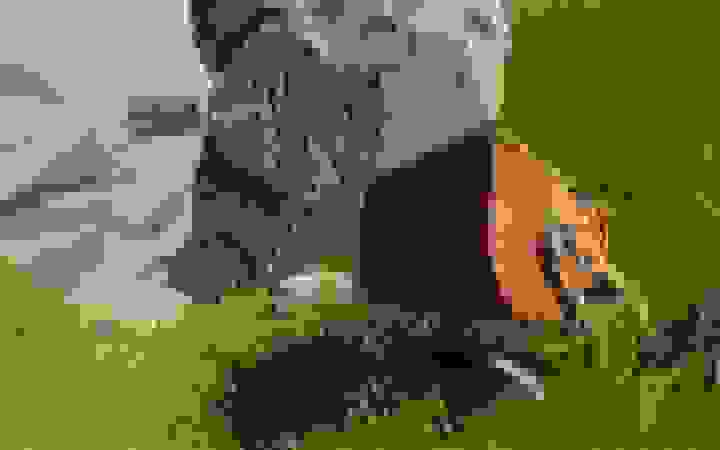
Because of the difficulties of locating a stash some people prefer a wooden storage box. While this is easier for you to find, it’s also much easier for other players to find. Note that it’s possible to find a box-sized rock to hide your box in, which works a treat if you can pull it off.
My very poor attempt at hiding a wooden chest.
Periodically dump your main resources in your stash (wood, stone, metal ore, sulfur ore and high quality metal ore) and continue foraging. You’ll want to accumulate a decent amount of loot along the lines of:
- 2-4k wood
- 1-4k stone
- 300-500 metal ore
- At least 30 cloth for a sleeping bag
The more the better, but this is enough for your starter base.
Building a starter base
Don’t get too carried away building your first base. Your main priority here is safely securing your loot so you can build up your gear and start causing mayhem for other players.
The cheapest and most common starter base is a single square foundation with an adjoining triangle foundation (commonly referred to as a 1x1). The square foundation has one door leading to the triangle foundation, which in turn has one door leading to the outside world. The triangle creates an airlock allowing you to “safely” leave your base without other players jumping in and grabbing your main loot.
To get your head around base building YouTube is your friend. There are a ton of great base builders out there but for your basic “shit shack” I found Tiny Pirate’s starter base showdown to be the most useful. Check it out.
For some additional 1x1 layout ideas I also recommend checking out Tiny Pirate’s vid comparing 1x1 layouts.
Another sleeping bag
You should already have a bag outside your base, but it’s essential that you also have one on the inside. You’ll want to be able to safely respawn in your base if you die.
Building materials
To start building you will need building plan and a hammer. The building plan allows you to place twig foundations, walls, floors and more. The hammer allows you to upgrade your twig to wood, stone, metal and armoured.
When placing twig walls, notice that on one side there are criss-crossed logs forming an X. This is the wall’s soft side and you don’t want it external facing. When placing twig structures, press R to rotate them. If you place something incorrectly you can rotate it using the hammer, but only for a limited time after placing it.
Twig is very easy to destroy so at the very least you should upgrade your twig to wood. But wood is vulnerable too. It can be burnt using a flame thrower and hatchets will eventually break through it. Stone is what you should be aiming for. Just make sure you place your walls strong-side out or they can be pick-axed.
Tool cupboard
Placing a tool cupboard (TC) in your base means only you - or anyone else who has access to your TC - can build within a certain radius of where your TC is placed. Other players can build some types of twig near your base but they can’t upgrade it. This prevents players from griefing your base by building walls around your door. Place your TC in one of the back corners of your 1x1 and authorise yourself. Having TC auth allows you to destroy structures, but only for 10 minutes after they are placed.
Key locks
Until Devblog 193, key locks were a terrible option for securing your base. But that has all changed. You no longer need to carry your key on your person, and there’s no longer a 1/100 chance that someone else’s key will open your base.
The catch is that if you want to share your base with other players you’ll need to give them a lock and at that point they become a lot less secure. This is because if anyone is killed while carrying a key to your base, anyone else can use it to get into base. It also means that if you’re not around to craft a key other players can get stuck inside or outside your base.
For these reasons, if you plan on playing with a group you should aim to get a codelock as soon as possible. To do this you’ll need at least 100 metal frags.
Crafting a furnace
Crafting a furnace is one of the most important early game milestones. Once you have a furnace you can begin to smelt metal and sulphur. This is particularly vital if you don’t yet have a code lock on your base.
The biggest obstacle to crafting a furnace is the 50 low grade fuel. This can be difficult to find early on. Here’s how you can find it:
- Killing animals and harvesting them for animal fat (x3 animal fat + x1 cloth = 1 low grade). Bears are the best and if you take one down early on you are set.
- Cracking red oil barrels. This usually gets you 5 low grade and 15 crude oil.
- Looting the mining carts found outside mines (can yield 15-20 low grade). Make sure you take low grade from the candle hat and miners hat.
- Catching trout in a fishing trap will get you 8 animal fat. This seems like a lot of effort when anyone else can loot your trap before you get to it.
- Refining crude oil via an small oil refinery. You can craft an oil refinery yourself or they can be found at certain monuments.
TIP: Craft a bone knife as soon as you can for max efficiency when harvesting animals.
Metal frags and high quality metal
Prior to getting a furnace up and running metal fragments are difficult to come by. You can get them by smelting metal ore in a small furnace but getting one of those is a challenge in itself.
However, metal frags are important to help code lock the door of your starter base (100 metal frags), especially if you plan to play with friends.
A good way to get metal early on is using a recycler. These can be found at most monuments, so if you’re anywhere near a lighthouse, harbour, supermarket or gas station it’s worth cashing in any components you’ve managed to find.
NOTE: I mention these monuments because they have lower tier loot crates and are less attractive to potentially experienced (and probably armed) players.

Gears, pipes, springs and semi-automatic bodies will be useful very soon but you won’t miss propane tanks and sheet metal and they’ll give you 50 and 100 metal frags respectively.
Another sneaky great source of metal frags are empty bean and tuna cans which will give you 15 and 10 frags respectively when roasted in a camp fire.
Further reading
- Rustafied’s getting started guide.
- Tiny Pirate’s beginner tutorial part 1 and part 2.
- Pepper The Red’s Top 10 best ways to survive Rust.
- If you have any queries about items, etc check out Rust Labs.

Leave a comment